
In the world of audio engineering & music production, there are a lot of terminologies you need to understand. While your ears are the most important thing to train, you won’t be able to communicate with other engineers what you want, if you don’t fully get a grasp of audio terminology.
In this article, we’re going to explain what transients are, why they’re important for mixing, and how you can use them to your advantage to create better, punchier mixes, or smooth out instruments.
Contents
What Are Transients in Music Production
A transient is a short burst of sound at the beginning of an audio sample. It is the percussive click, pop, or snap we hear when a Kick or Snare drum plays through the speakers, or is hit by a stick, for instance.

Transients are in everything from vocals, to guitar string plucks, and even piano key clacks. They are essential to the shape, and delivery of your sound, and are responsible for the impact.
Transients can be good or bad when it comes to mixing, and you may want to remove transients or accentuate them in a mix. For instance, you might want the attack of your Snare drum to be more impactful, but you might not want the “P”, and “B” sounds in your vocals.
There are many tools you can use to either control transients, or accentuate them in a mix, and we’ll cover a few below that are good to understand.
Compression & Transients

Compression is used to reduce the dynamic range of an audio signal and is one of the most used tools in mixing, mastering and music production in general.
Because compression reduces the dynamic range of your audio signal, it controls the transients of your audio.
Compression essentially works by squashing the loudest and lowest volume points together, therefore evening out the volume of your audio, and as a result, your transients sound lower in volume, and don’t create any crazy volume imbalances in your audio.
Compression is an especially useful tool for evening out vocal takes or beefing up drum recordings, making them sound louder and more punchy than before. Sometimes a vocalist can sound really loud, and then all of a sudden go quiet – this is where compression is used to ensure a cohesive, glued sound.
You use compression to handle transients. It’s often the first tool mixing engineers reach for when wanting to control the transients of an instrument recording.
It’s important to get the Attack & Release balance for compression right here.
A fast Attack will instantly compress the sound, not giving any space for your transient to cut through the squashing effect.
This isn’t ideal on something like a Kick drum, so you want to dial your Attack in so that it’s fast, but so that it doesn’t affect the transient of your Kick. This will beef the Kick up, but still give you that click, pop sound to cut through the mix.
A fast release will instantly recover the compression settings to 0. This is useful on something like a Kick drum, because you want the compression to reset before the next hit of the drum. A slow release is good for instruments with a long sustain to them.
The best way to set compression is using the ARRT method. This will ensure you have the right attack and release settings, and that your compression doesn’t compromise any transients you want to hear.
Parallel Compression & Preserving Transients
Parallel compression is where you heavily compress the same signal on a bus channel. This bus channel is then mixed in side by side, with the original channel. Parallel compression provides thickness, and punch without a squashed sound.

This technique is especially useful on drums, and is often used in electronic music to make leads and plucks stand out.
A professional mixing engineer will frequently use parallel compression as a chain, with multiple effects on it to add punch. Things like saturation, transient shaping, and compression can all be on the same bus.
Saturation will add harmonic content, transient shaping will increase impact, and compression will squash and add thickness.
Doing this gives you more control over how much of your sound is being fully processed, and gives a more natural sound when blending in with the original, dry signal.
In the case of preserving transients on drums (or guitars/any instrument), this process is useful.
It will allow you to mix in your original, dry signal, alongside a compressed signal. This gives you the punch, and thickness from the compression, but doesn’t squash your transients, allowing them to cut through.
Transient Shapers

The next tool you’d reach for when mixing transients is the transient shaper. Transient shapers work by dynamically applying compression, & expansion to your audio, based on the level of your input signal (and settings).
This compression and expansion helps to shape your transients, and therefore alters the sound of them.
Transient shaping tools have two controls:
- Attack – Up adds weight & punch to your transient. Down reduces the transient impact.
- Sustain – Up adds more sustain to your sound. Down reduces sustain, making the transient snappy.
When you want a punchier transient response, you would increase the attack. If you’d want a shorter, snappier transient, you’d reduce the sustain.
Transient shaper tools are extremely useful on drums, and especially to get the Snare drum to cut through a mix a bit more, and add a little bit more weight, transient shaper plugins can be used to so this. You can also use transient shapers to remove the impact of a guitar pluck for instance, or reduce the weight of a plosive in vocals for instance.
You can get great transient shaping tools for free, and paid. We’d recommend Auburn Sounds Couture if you’re looking for a free transient shaper, and Waves Smack Attack for a paid transient shaper.
However, transient shapers aren’t the best tool for reducing impact, or improving impact when you have a tricky sound to work with.
Which brings us on to…
Multi-band Transient Processors
Multi-band transient processors are fairly new additions to the music production world, and build on transient shapers, by giving you the ability to only affect a certain frequency range.
These are far more useful when it comes to actually mixing tracks, than transient shapers are.
This is because you’re able to directly affect certain frequency ranges with the processing, making your transient reduction (or improvement) far more accurate. For instance, if you wanted to control the high fequencies of a bass guitar, and accentuate the pluck, you could. Just like you could control the low end too.
Where this becomes really useful is removing/reducing transients from audio.
If you have plosives in a vocal take, or an unwanted pluck of a guitar string – you can find the area of the frequency that is responsible for this, and apply your processing, instead of just applying a blanket to you sound.
You can also automate the response, and frequency ranges for more problematic sound sources. And, in the future, they’ll almost definitely have a similar approach to the dynamic noise profile changes you find in noise reduction VSTs – automatically adjusting over time for you.
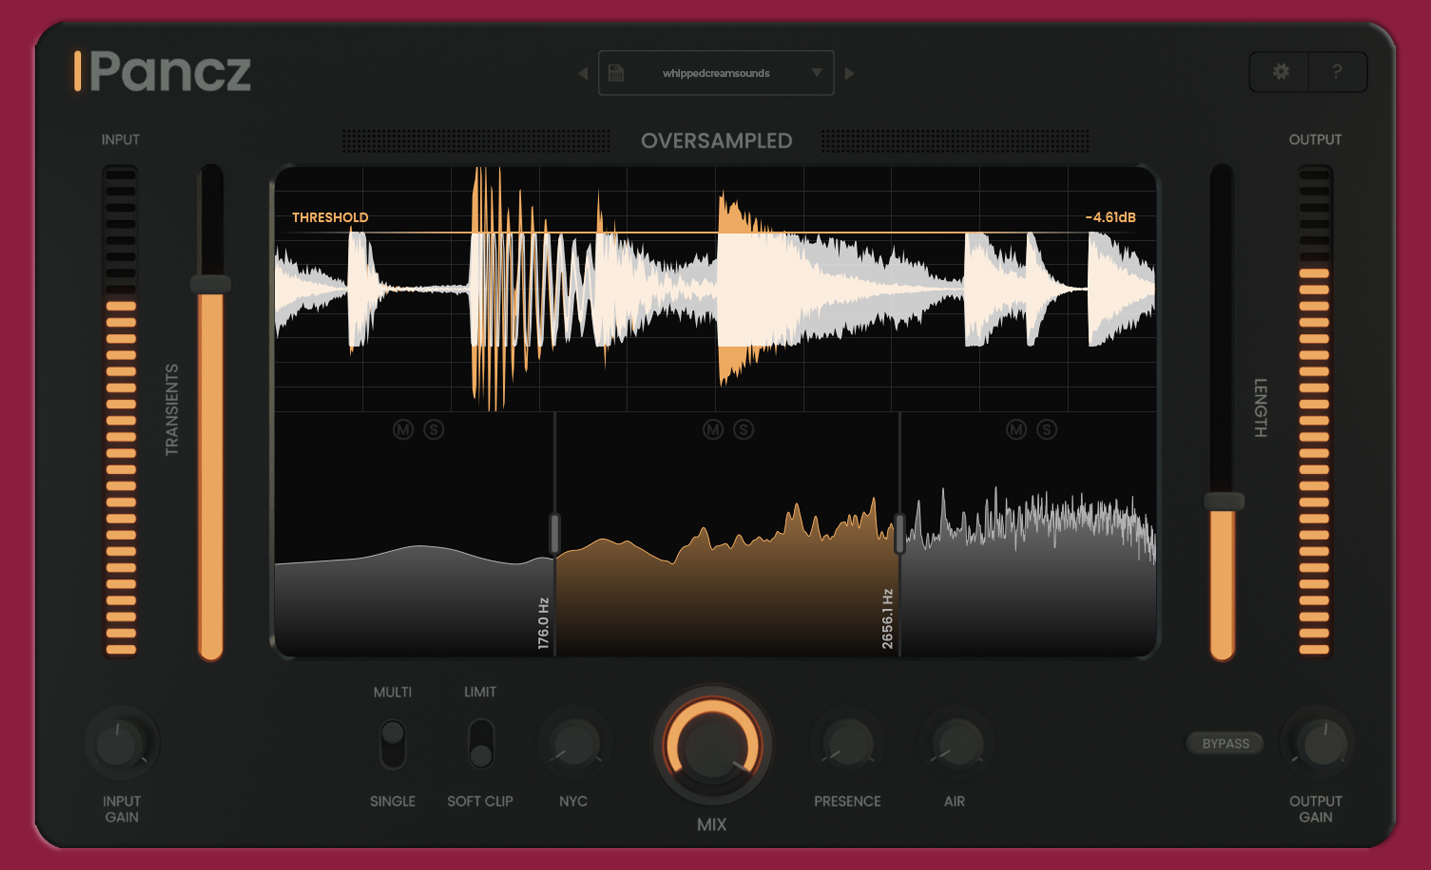
One multi-band transient processor we’d recommend is Pancz by Oversampled. It’s fantastic for beefing up drums and so much more.
Attack Decay Sustain Release For Transient Shaping Sound Design
ADSR is something you’ll probably have seen inside your synth, or you may have seen it in some effects plugins.
It’s important to understand ADSR when talking about transients because, every sound can be re-created from its 4 properties: attack, decay, sustain, and release.
The 2 important categories here are attack and decay, as they are responsible for the hit of the transient, and whether it will sound harsh, or soft.
The sustain is responsible for how long the sound will carry on at a consistent volume, and the release controls the decay in sound over time.
Transients in something like synths can be made shorter by altering the attack and decay settings so they are quick to come in, and quick to decay.
The shorter the attack, the more of a hard hitting transient you’ll have. The slower the attack, and you’ll have a soft, ramp up, which will reduce the transient.
The decay can control the length of the transient when using it in something like a synth.
The shorter the decay, the more of a plucky, short transient you’ll have.
This is useful to know, because you can re-create sounds using envelopes in synthesizers, and it’s an extremely important step in the sound design process, if you want to model a real world instrument, or design drums.
For instance, the sound of piano keys looks like this, when mapped on a diagram, so the envelope in a key patch in a synth will look similar:


ADSR is important to know in sound design, as it has a huge impact over the shape, and character of your sound. You can do a lot with just ADSR. It will be responsible for the transient of your sound, the sustain and the release.
It’s a fundamental part of any sound design.
Summary
Transients are an important term to understand in the music production world. Your transient response and impact can have a huge effect on the punchiness of your mixes. Getting rid of unwanted transients and accentuating ones that need to be heard more is essential to getting a clean, cohesive mix.
Most commonly transients are controlled using compression and EQ. Then, mix engineers tend to reach for something like a transient shaper, or multi-band transient designer.
We hope you enjoyed this article and learned something new!


